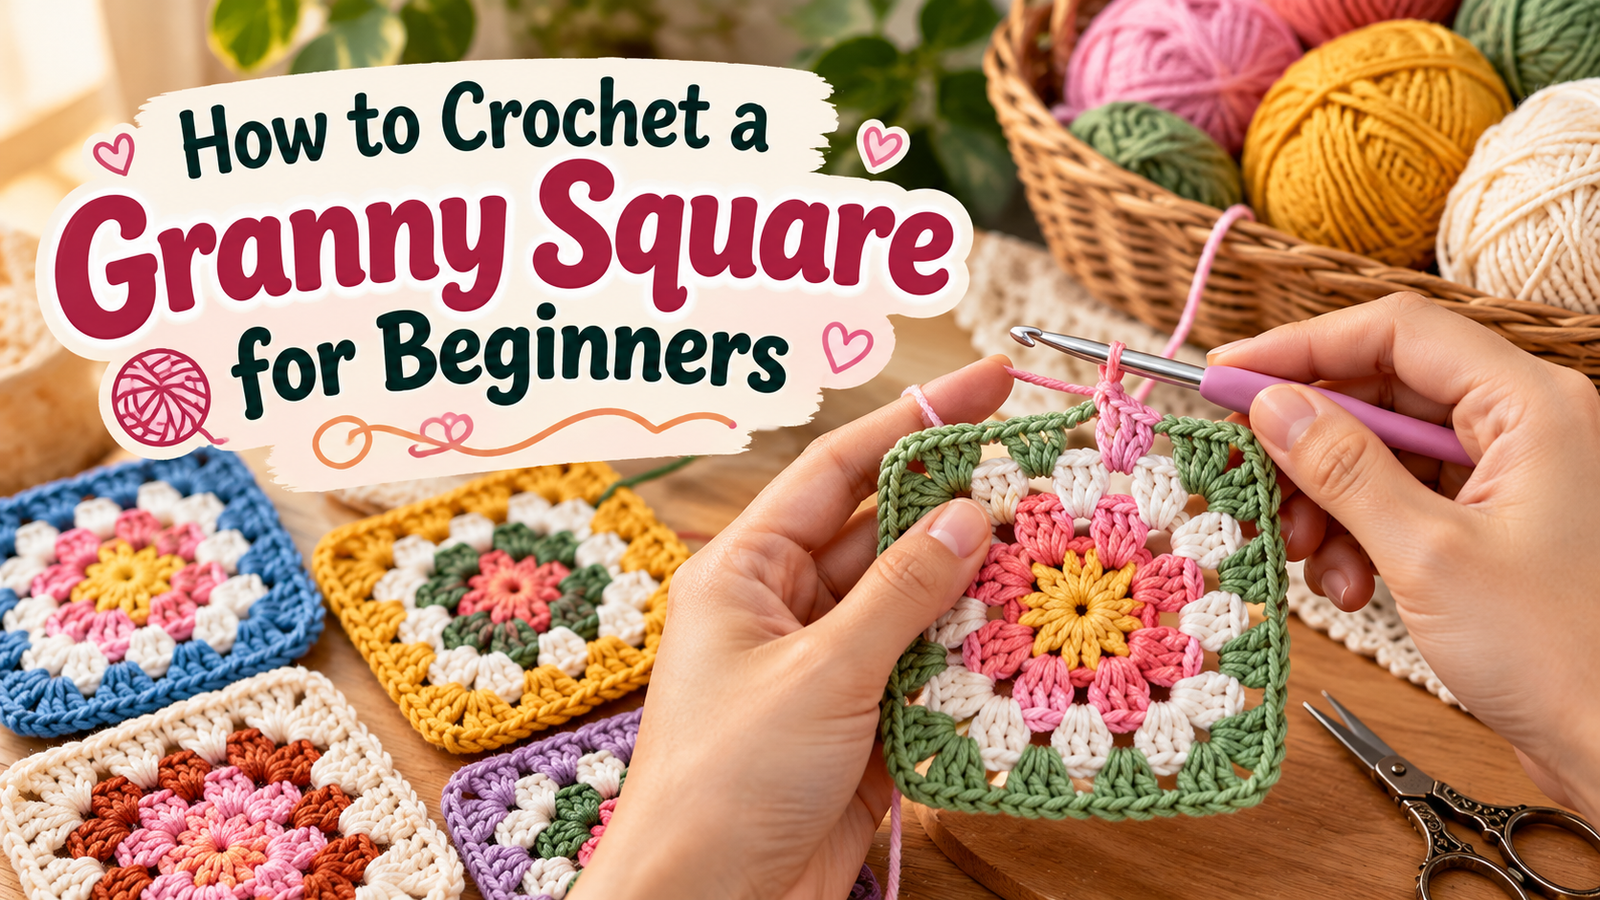
To crochet a granny square, you work clusters of three double crochet stitches into a small ring, with two chains between each cluster to make the corners. Each new round adds one more cluster along every side, so the square grows evenly. A basic three-round granny square takes about 10 to 15 minutes, and once you can make one, you can make blankets, bags, cushions and even cardigans.
This step-by-step guide covers what you need, every round with stitch counts, how to change colours, how to finish, and how to fix the most common beginner mistakes. All instructions are written in US crochet terms.
What Do You Need to Crochet a Granny Square?
You only need a few basic supplies:
- Yarn: worsted or aran weight (weight 4) in a light, smooth colour, so you can see your stitches clearly. Acrylic or cotton both work well.
- Crochet hook: 5 mm (US H-8) for worsted yarn.
- Scissors
- Yarn needle: for weaving in the ends.
Avoid very dark, fluffy or textured yarn for your first square, because it hides the stitches and makes it hard to see where to insert your hook.
Which Crochet Stitches Do You Need?
A granny square uses only three stitches:
- Chain (ch): used to start the ring and to make the corner spaces.
- Slip stitch (sl st): used to join each round and to move to the next corner.
- Double crochet (dc): the main stitch, worked in groups of three called clusters.
You’ll also see sp, which means space. A “ch-2 space” is the gap made by two chains, and that’s where every corner is worked.
How to Crochet a Granny Square Step by Step
Round 1: Make the Ring and First Clusters
- Chain 4, then slip stitch into the first chain to make a small ring. You can also start with a magic ring if you know it.
- Chain 3. This counts as your first double crochet.
- Work 2 double crochet into the ring. This is your first cluster.
- Chain 2 to make the first corner.
- Work 3 double crochet into the ring, then chain 2. Repeat this two more times.
- Slip stitch into the top of the first chain-3 to join the round.
Stitch count: 4 clusters, 12 double crochet and 4 corner spaces.
Round 2: Build the Corners
- Slip stitch into the next 2 double crochet and into the first ch-2 corner space, so your hook is in the corner.
- Chain 3, then work 2 double crochet, chain 2 and 3 double crochet, all into that same corner space.
- Chain 1.
- In the next corner space, work 3 double crochet, chain 2 and 3 double crochet. Then chain 1.
- Repeat step 4 in the last two corners.
- Slip stitch into the top of the first chain-3 to join.
Stitch count: 8 clusters, 24 double crochet. Each corner now has two clusters with a ch-2 space between them, and each side has a ch-1 space.
Round 3: Add the Side Clusters
- Slip stitch across to the first corner space, as in Round 2.
- Work the corner: chain 3, then 2 double crochet, chain 2 and 3 double crochet in the same space.
- Chain 1, then work 3 double crochet into the next ch-1 space along the side. Chain 1 again.
- Work the next corner: 3 double crochet, chain 2 and 3 double crochet.
- Repeat steps 3 and 4 around the square, then chain 1 and slip stitch into the top of the first chain-3 to join.
Stitch count: 12 clusters, 36 double crochet.
Round 4 and Beyond: The Simple Rule
From here, every round follows the same pattern. In each corner space, work 3 double crochet, chain 2 and 3 double crochet. In each ch-1 space along the sides, work 3 double crochet, with chain 1 between clusters. Every round adds 4 more clusters, so Round 4 has 16 clusters and 48 double crochet, Round 5 has 20 clusters and 60 double crochet, and so on. You can keep going until the square is as big as you want.
How Do You Change Colours in a Granny Square?
Changing colour at the start of a round is what gives granny squares their classic look. Finish the round with a slip stitch, cut the yarn leaving a 6-inch tail, and pull it through the loop. Then insert your hook into any corner space with the new colour, pull up a loop, and start the round with chain 3. Starting each new colour in a different corner helps keep the square straight and hides the joins.
How Do You Finish a Granny Square?
After the last round, cut the yarn and pull it through the loop to fasten off. Thread each tail onto your yarn needle and weave it back and forth through the stitches on the back for about 2 inches, then trim. If your square looks a little uneven, block it: wet it lightly, pin it flat to the right size, and let it dry completely.
What Are the Most Common Granny Square Mistakes?
- The square twists or slants: this usually happens when the round is joined in the wrong place. Always slip stitch into the top of the first chain-3, not the chain next to it.
- The square cups like a bowl: the corners are too tight. Make sure every corner has a full chain 2.
- The square ruffles or waves: there are too many stitches, often an extra cluster on one side. Count your clusters at the end of every round.
- A corner is missing: it’s easy to work 3 double crochet in a corner and forget the chain 2. Check you have four corners before joining.
- Gaps between clusters are too big: your side chains are too loose. Keep the chain 1 snug, or try a smaller hook.
How Big Is a Granny Square and How Long Does It Take?
In worsted yarn with a 5 mm hook, a three-round granny square measures roughly 3.5 to 4 inches across, and each extra round adds about 1 inch. A beginner usually takes 15 to 20 minutes for a three-round square, and this drops to around 10 minutes with practice. Your size will vary with your yarn and tension, so measure a finished square before planning a large project.
What Can You Make With Granny Squares?
Once you can make one square, you can make almost anything. A single large square becomes a coaster or a dishcloth, four to nine squares make a cushion cover, and joined squares can become a tote bag, a bucket hat or a granny square cardigan. The most popular project is a blanket. A lap blanket needs around 35 squares, while a full-size afghan needs 150 to 200. Browse our crochet blanket patterns for ideas, or try the free Heart Granny Square Blanket pattern once you’re comfortable with the basics.
To join your squares, the easiest method for beginners is a flat slip stitch join. For blankets with many squares, join-as-you-go saves a lot of sewing at the end. You’ll find motif squares, joining guides and more in our granny square patterns collection.
Granny Square Patterns to Try Next
Ready to turn your squares into a finished project? These two patterns are built from motif squares and are a natural next step after your first granny square.
-
Heart Granny Square Crochet Blanket Pattern $ 0
Pattern Details
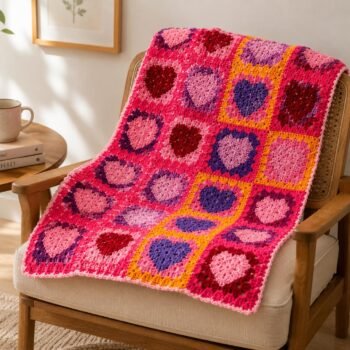
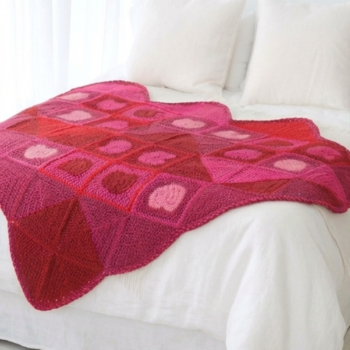
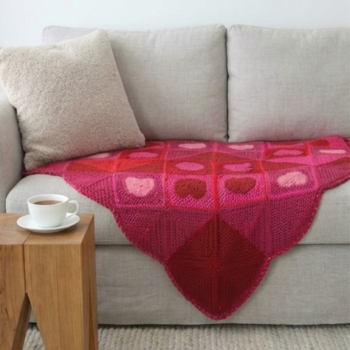
Create a beautiful handmade Heart Granny Square Crochet Blanket with this charming Valentine’s Day inspired crochet pattern. The finished blanket measures approximately 54 inches (137 cm) square and features colorful heart-shaped motifs arranged into a classic granny square design.
The blanket is made by crocheting individual heart motifs in different color combinations and joining them together to create a cozy and decorative throw. This pattern combines traditional granny square techniques with a romantic heart design, making it perfect for Valentine’s Day, gifts, home décor, baby blankets, and special handmade projects.
What’s Included
This crochet pattern PDF includes:
- Complete step-by-step crochet instructions
- Heart granny square motif instructions
- Color change guidance
- Instructions for creating multiple motifs
- Motif joining and assembly instructions
- Stitch abbreviation guide
- Stitch key diagram
- Assembly layout diagram
- Finished size information
- Gauge information
- Complete materials list
The pattern provides detailed instructions to create the complete heart granny square blanket from individual motifs to final assembly.
Skill Level
Easy
This pattern is suitable for crocheters who are comfortable with basic crochet techniques, including:
- Chain stitches
- Slip stitches
- Double crochet
- Half double crochet
- Treble crochet
- Working in rounds
- Changing colors
- Joining crochet motifs
- Basic sewing and finishing
A fun and beginner-friendly blanket project featuring simple granny square construction with beautiful heart details.
Materials Needed
Yarn:
- Red Heart® All in One™ Sweet Hearts™ yarn (8.8 oz / 250 g; 440 yds / 402 m)
- Contrast A: Valentine (0004) – 2 balls or 27 motifs
- Contrast B: Bravery (0006) – 2 balls or 27 motifs
- Contrast C: Lovey Dovey (0010) – 2 balls or 27 motifs
Other Materials:
- U.S. I/9 (5.5 mm) Susan Bates® Silvalume® crochet hook or size needed to obtain gauge
- Susan Bates® yarn needle
Finished Size: Approximately 54 inches (137 cm) square
Gauge: Each heart motif measures approximately 6 inches (15 cm) square.
-
Heart Throw Crochet Pattern PDF Original price was: $ 11.$ 5Current price is: $ 5.
Perfect For
- A cosy handmade throw for your sofa or bed
- A heartfelt gift for Valentine’s Day, anniversaries or someone you love
- Adding a bold pop of pink and red to your home
- Motif lovers who enjoy making squares and watching a design grow
Skill Level & Pattern Details
- Skill Level: Intermediate
- Built from motifs — heart squares, circle squares and triangles joined together, then finished with a worked edging
- Written in US terms with a full abbreviations list
Finished Size & Materials
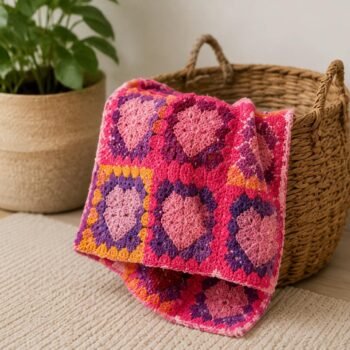
- Finished throw: approximately 52½ in tall × 60 in wide, measured from the point to the widest edge
- Medium (worsted) weight yarn in five shades of pink and red — the sample is worked in Red Heart Super Saver
- 6.5 mm crochet hook (US K-10½)
- Yarn needle for joining and weaving in ends
- Gauge: 12 stitches × 7 rows = 4 in in double crochet
What You’ll Get
- Instant PDF download — start as soon as you’ve checked out
- Complete written instructions for every motif, with stitch counts
- Assembly layout showing exactly where each piece goes
- Clear stitch explanations and abbreviations in plain language
Please Note
This is a digital crochet pattern (PDF) only — not a finished throw. No physical item will be shipped.
Frequently Asked Questions
Is a granny square good for beginners?
Yes. It uses only three basic stitches, each round is short, and you’ll finish a complete square in under 20 minutes. It’s one of the best first projects in crochet.
Should I use a magic ring or a chain ring?
A chain ring of 4 chains is easier for complete beginners. A magic ring closes tighter with no hole in the centre, so it’s worth learning once you’re comfortable.
Why does my granny square have a hole in the middle?
A chain ring always leaves a small hole. To close it, use a magic ring instead, or start with 3 chains instead of 4.
How many rounds should a granny square have?
There’s no fixed number. Three to four rounds is common for blankets made from many squares, while a single large square can have 20 rounds or more.
What is the best yarn for granny squares?
Worsted weight acrylic is affordable, washable and easy for beginners. Cotton gives very crisp stitches and suits coasters, bags and summer projects.
More Granny Square Patterns From Our Shop
Every pattern below is an instant PDF download with a stitch count on every round, written in US terms with a UK conversion key.
-
Granny Square Blanket Crochet Pattern Original price was: $ 11.$ 5Current price is: $ 5.
WHAT YOU’LL RECEIVE
6-page digital crochet pattern PDF
Step-by-step written instructions
Materials and yarn requirements
Gauge and finished measurements
Crochet abbreviations guide
Granny square stitch diagram with stitch key
Instructions for changing colors and completing the blanketPATTERN DETAILS
• Skill Level: Beginner
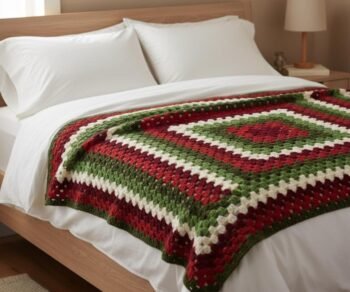
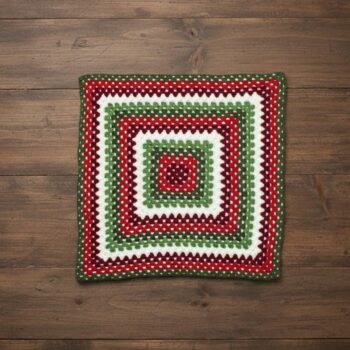
• Finished Size: Approx. 36″ (91.5 cm) square
• Crochet Hook: U.S. I/9 (5.5 mm) or size needed to obtain gauge
• Gauge: 12 double crochet stitches and 6 rows = 4″ (10 cm)
• Construction: Worked in repeating granny square rounds
• Format: Digital PDF
• Pages: 6STITCHES USED
• Chain (ch)
• Double Crochet (dc)
• Slip Stitch (sl st)PERFECT FOR
• Beginner crochet projects
• Granny square lovers
• Cozy handmade home décor
• Lap blankets and small throws
• Handmade gifts
• Relaxing crochet projects
• Practicing classic granny square techniquesPLEASE NOTE
This listing is for a DIGITAL CROCHET PATTERN PDF only. No finished blanket or physical product will be shipped. You will need your own yarn, crochet hook, and supplies to complete the project.
Start Your First Granny Square Today
Make one square, then four more, and join them. In about an hour you’ll have learned chains, clusters, corners, colour changes and joining, which covers most of what you need for any crochet project. When you’re ready for more, explore our free crochet patterns or browse the full collection at Crochet Needle.